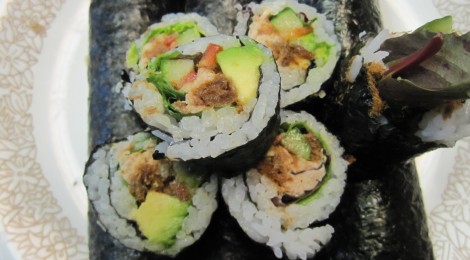
Cooking with Mom: Tuna Salad Sushi
Tuna Salad Sushi is something my mom got out of a Taiwanese cookbook, and I love it. It takes quite a bit of work, but it’s definitely worth it. When my mom first told me what went into this roll, I was pretty skeptical. But then I tasted it, and I was blown away. The pungent onion, crunchy and spicy bell pepper, crisp cucumber, bitter lettuce, creamy avocado and soft tuna combine with the slightly sweet and sour sushi rice to form a magical combination of flavors and textures. I’ll attempt to show you how to make this sushi roll here, since my mom told me to make it myself when I asked her for it. Sadly, I don’t have a video, so my photos will just have to do. >.<
My mom makes 10 rolls in one go. For that amount, you’ll need the following ingredients:
- 4 cups of rice
- 1/2 cup of rice vinegar and 5 tablespoons of sugar for the sushi rice
- 1 English cucumber, sliced into strips
- 1 bell pepper, sliced into strips
- 1 avocado, sliced
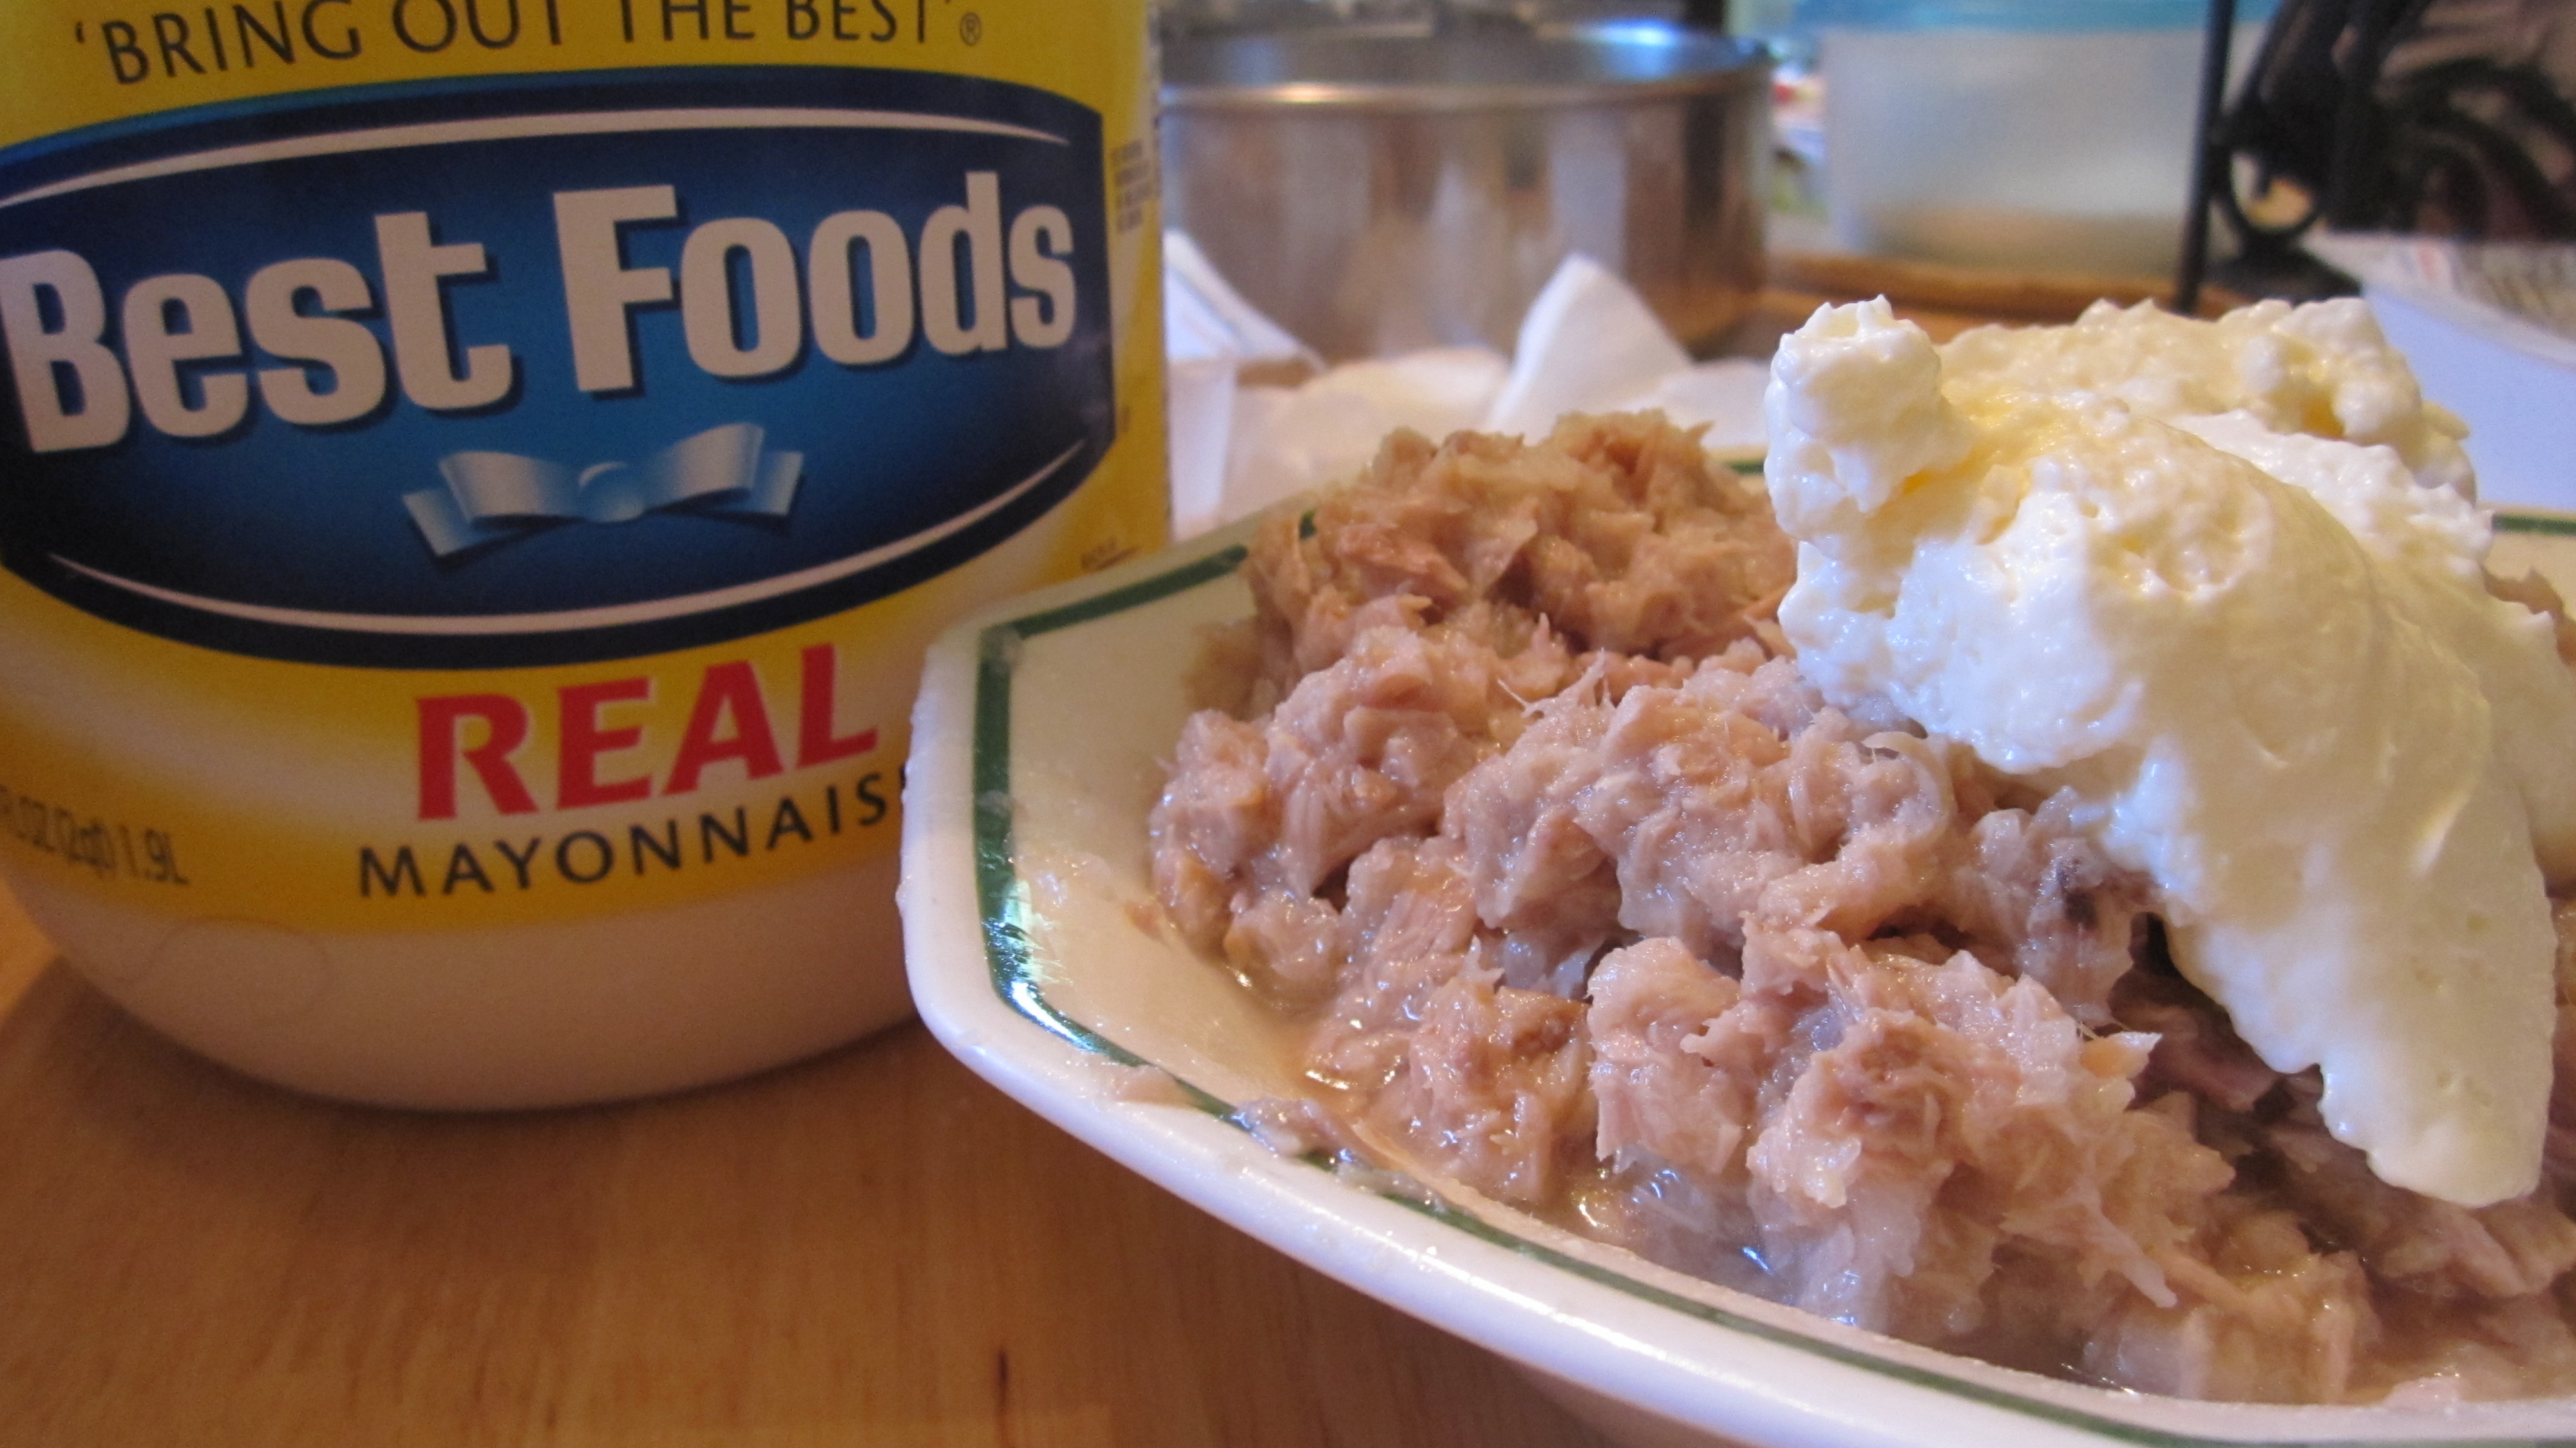
- 4 cans of tuna, drained
- 3 tablespoons of mayonnaise
- 1 small onion, grated
- Salad greens
- Pork sung (this is optional)
Steam the four cups of rice, and then scoop it out onto a cookie sheet. Iron Chef Morimoto uses a big bamboo basket, but my family doesn’t have anything like that…and I’m assuming neither do you…so a big flat container will do. You need to allow the steam to escape as you gently mix in the vinegar and sugar mixture. You might need to vary the amounts of the sugar/vinegar depending on what brand of vinegar you use.
While the rice is cooking, you can prep the other ingredients. The tuna filling is actually the most annoying part of this process. My mom told me to grate an entire onion.
If you don’t want to grate the onion, I’m sure you could use a food processor or just chop it very very finely. Turning it into a mash actually allows the onion to incorporate completely into the tuna, since the last thing you want when you bite into a piece of sushi is to crunch on a piece of onion. When you’ve combined the tuna and onion, add the mayonnaise. There will be quite a bit of extra liquid from the onion and tuna, but you can easily drain that out.
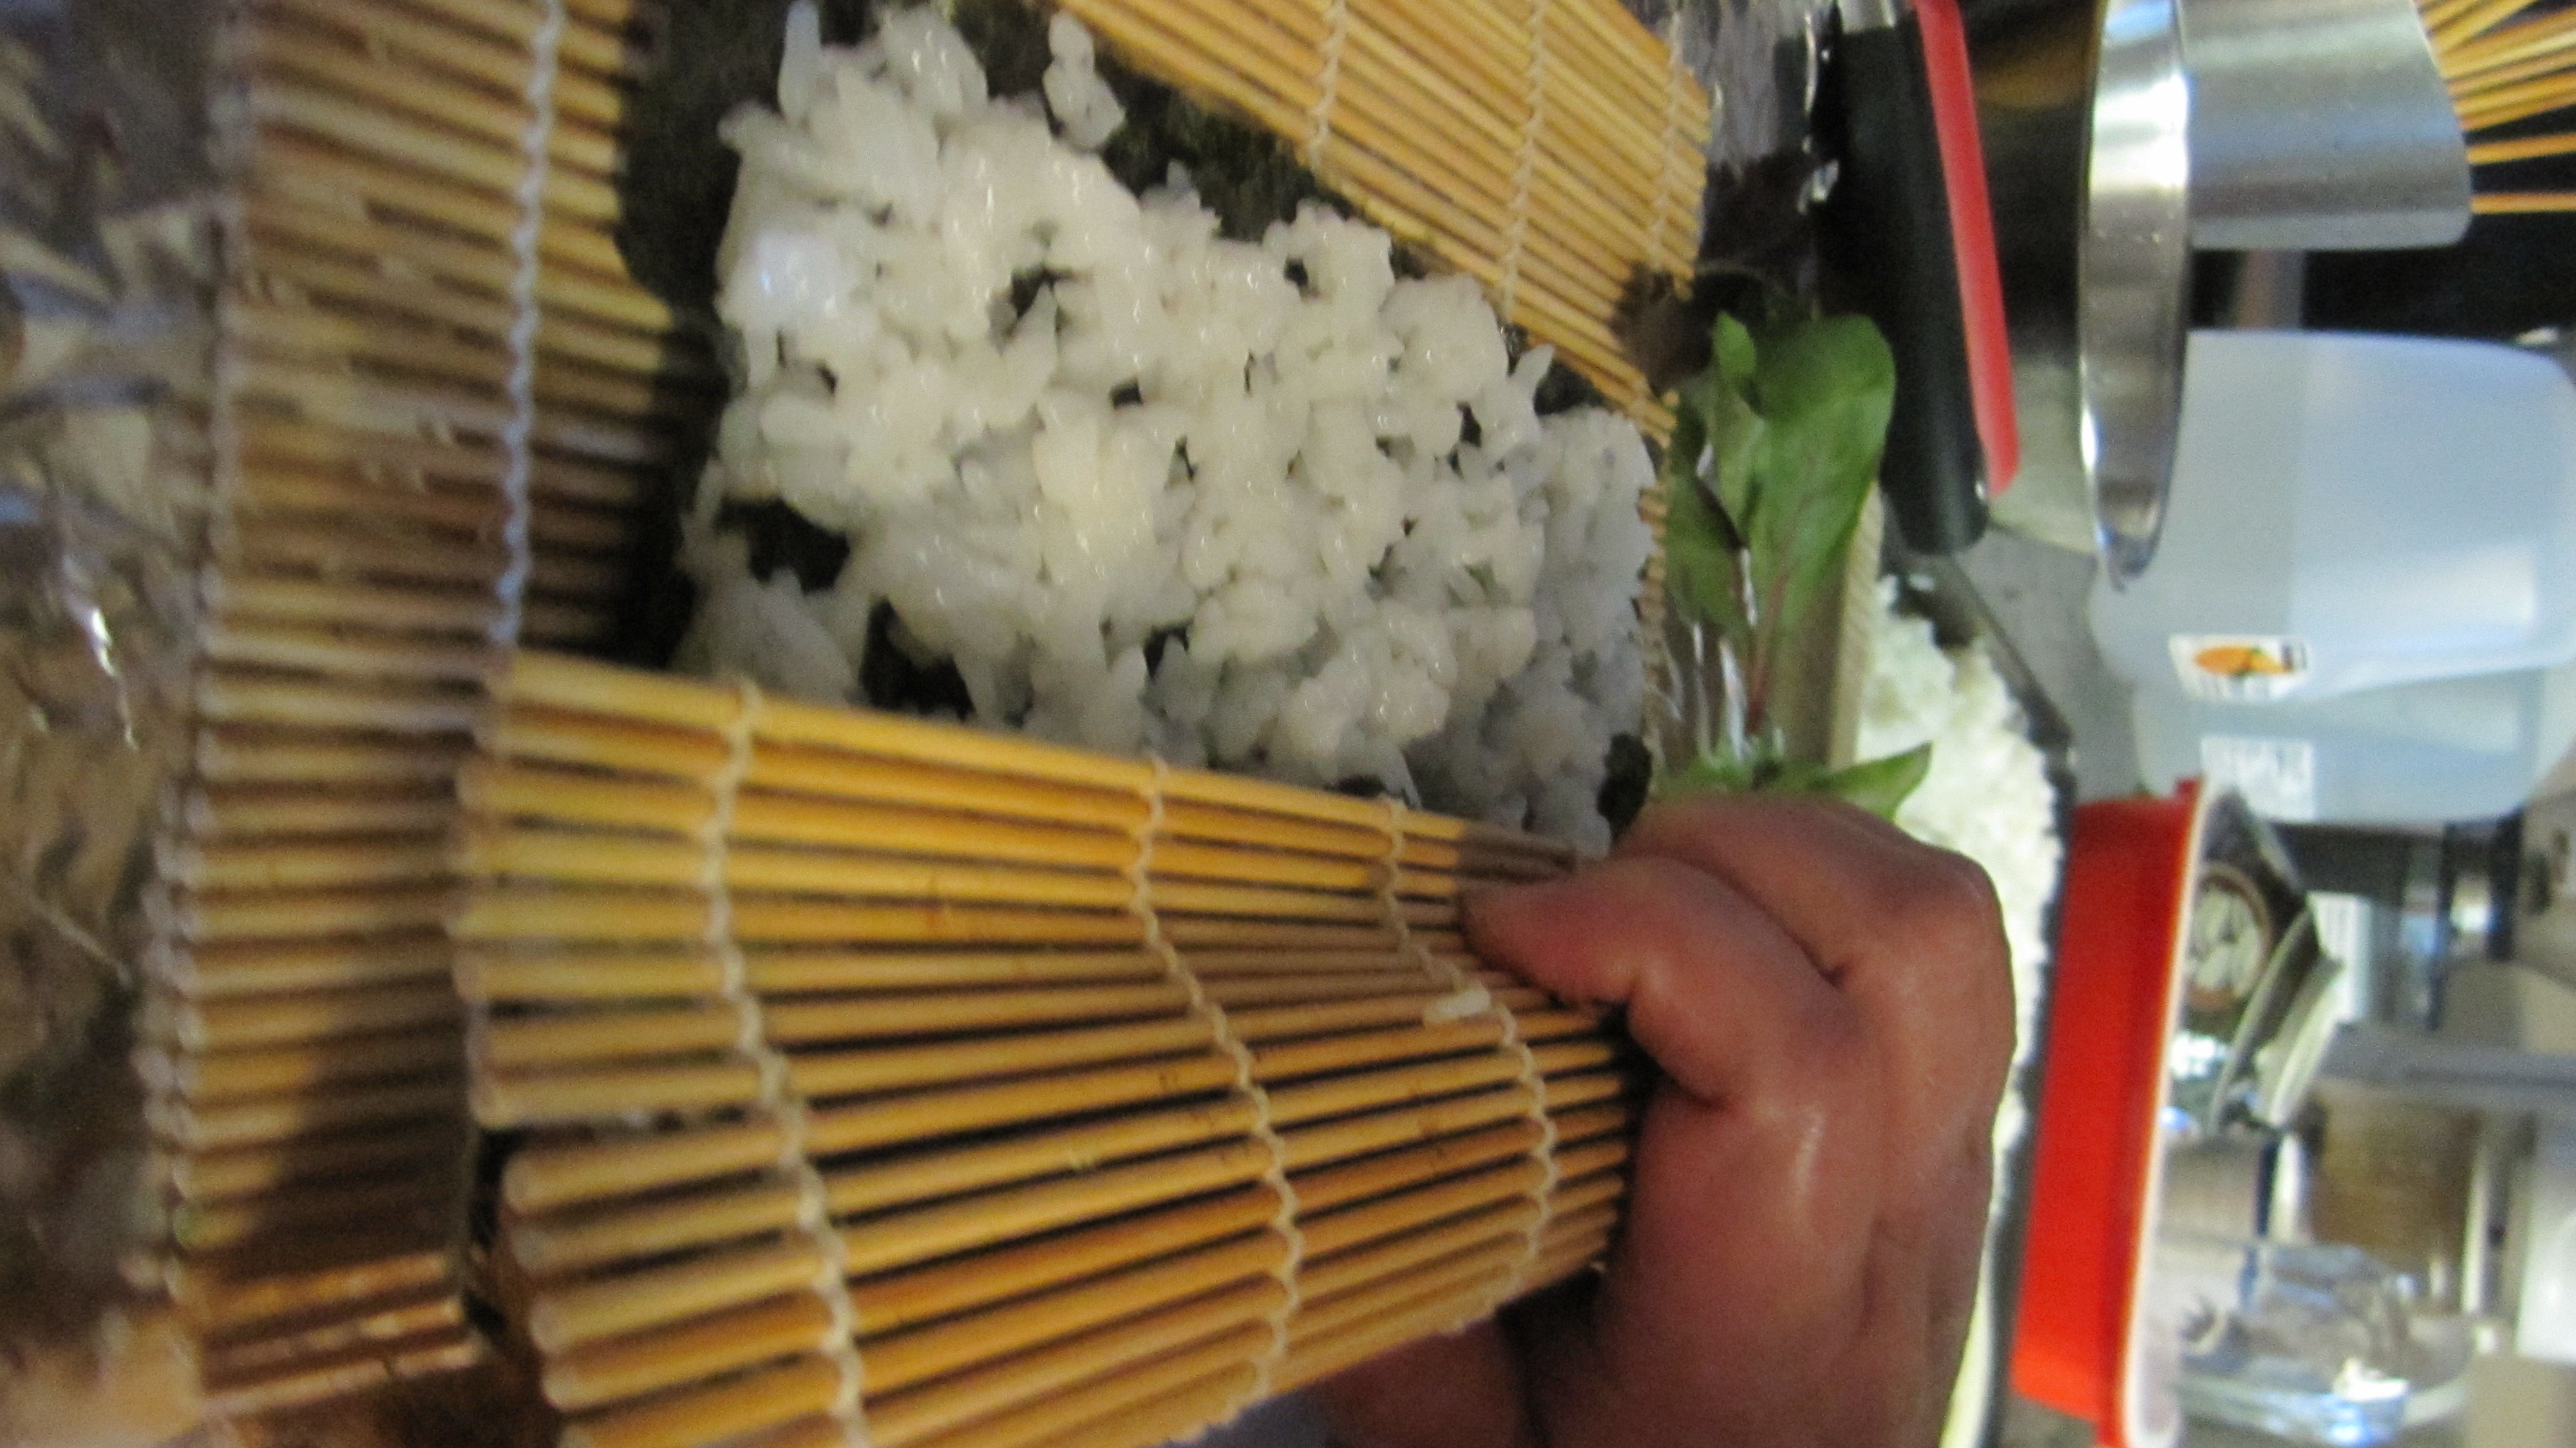
After you’ve sliced all of your vegetables, you’re good to start rolling! Get your bamboo roller ready, and place your nori sheet on it shiny side down.
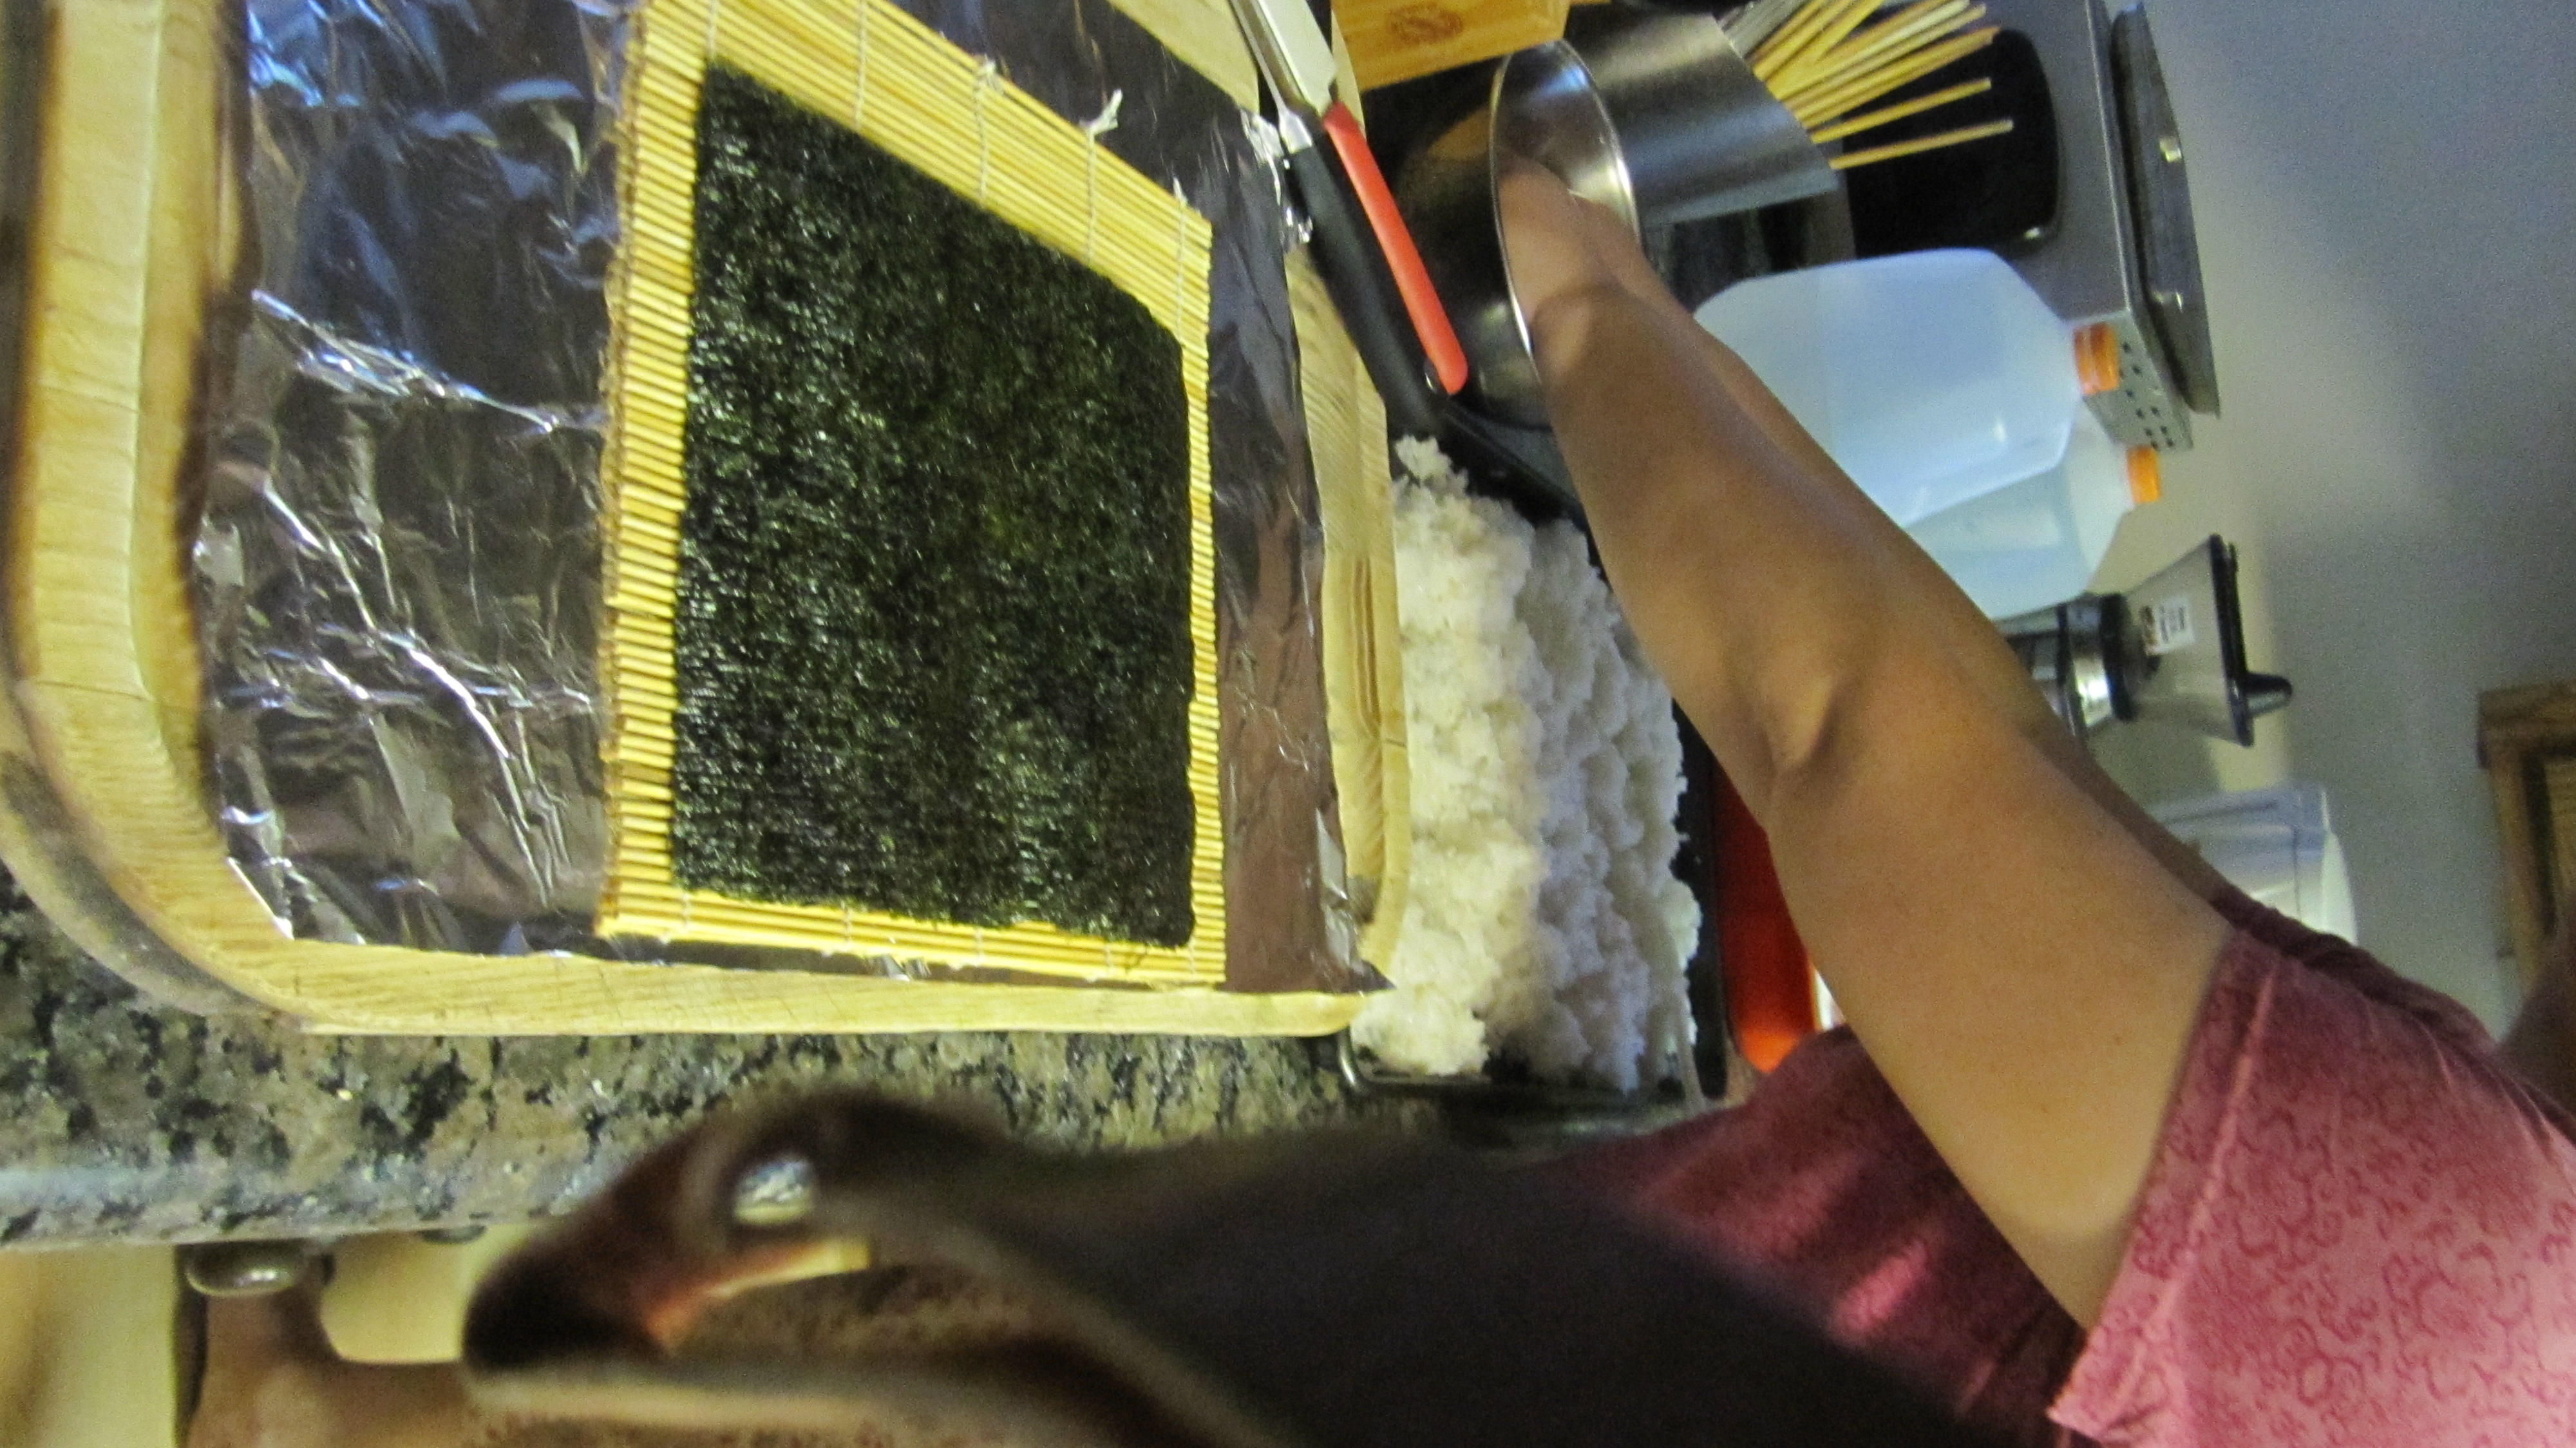 There are some faint creases on the sheets of nori. Make sure those lines are perpendicular to you. If you have trouble determining which side of the nori is shiny, feel each side with your fingertips and place the rougher side facing up.
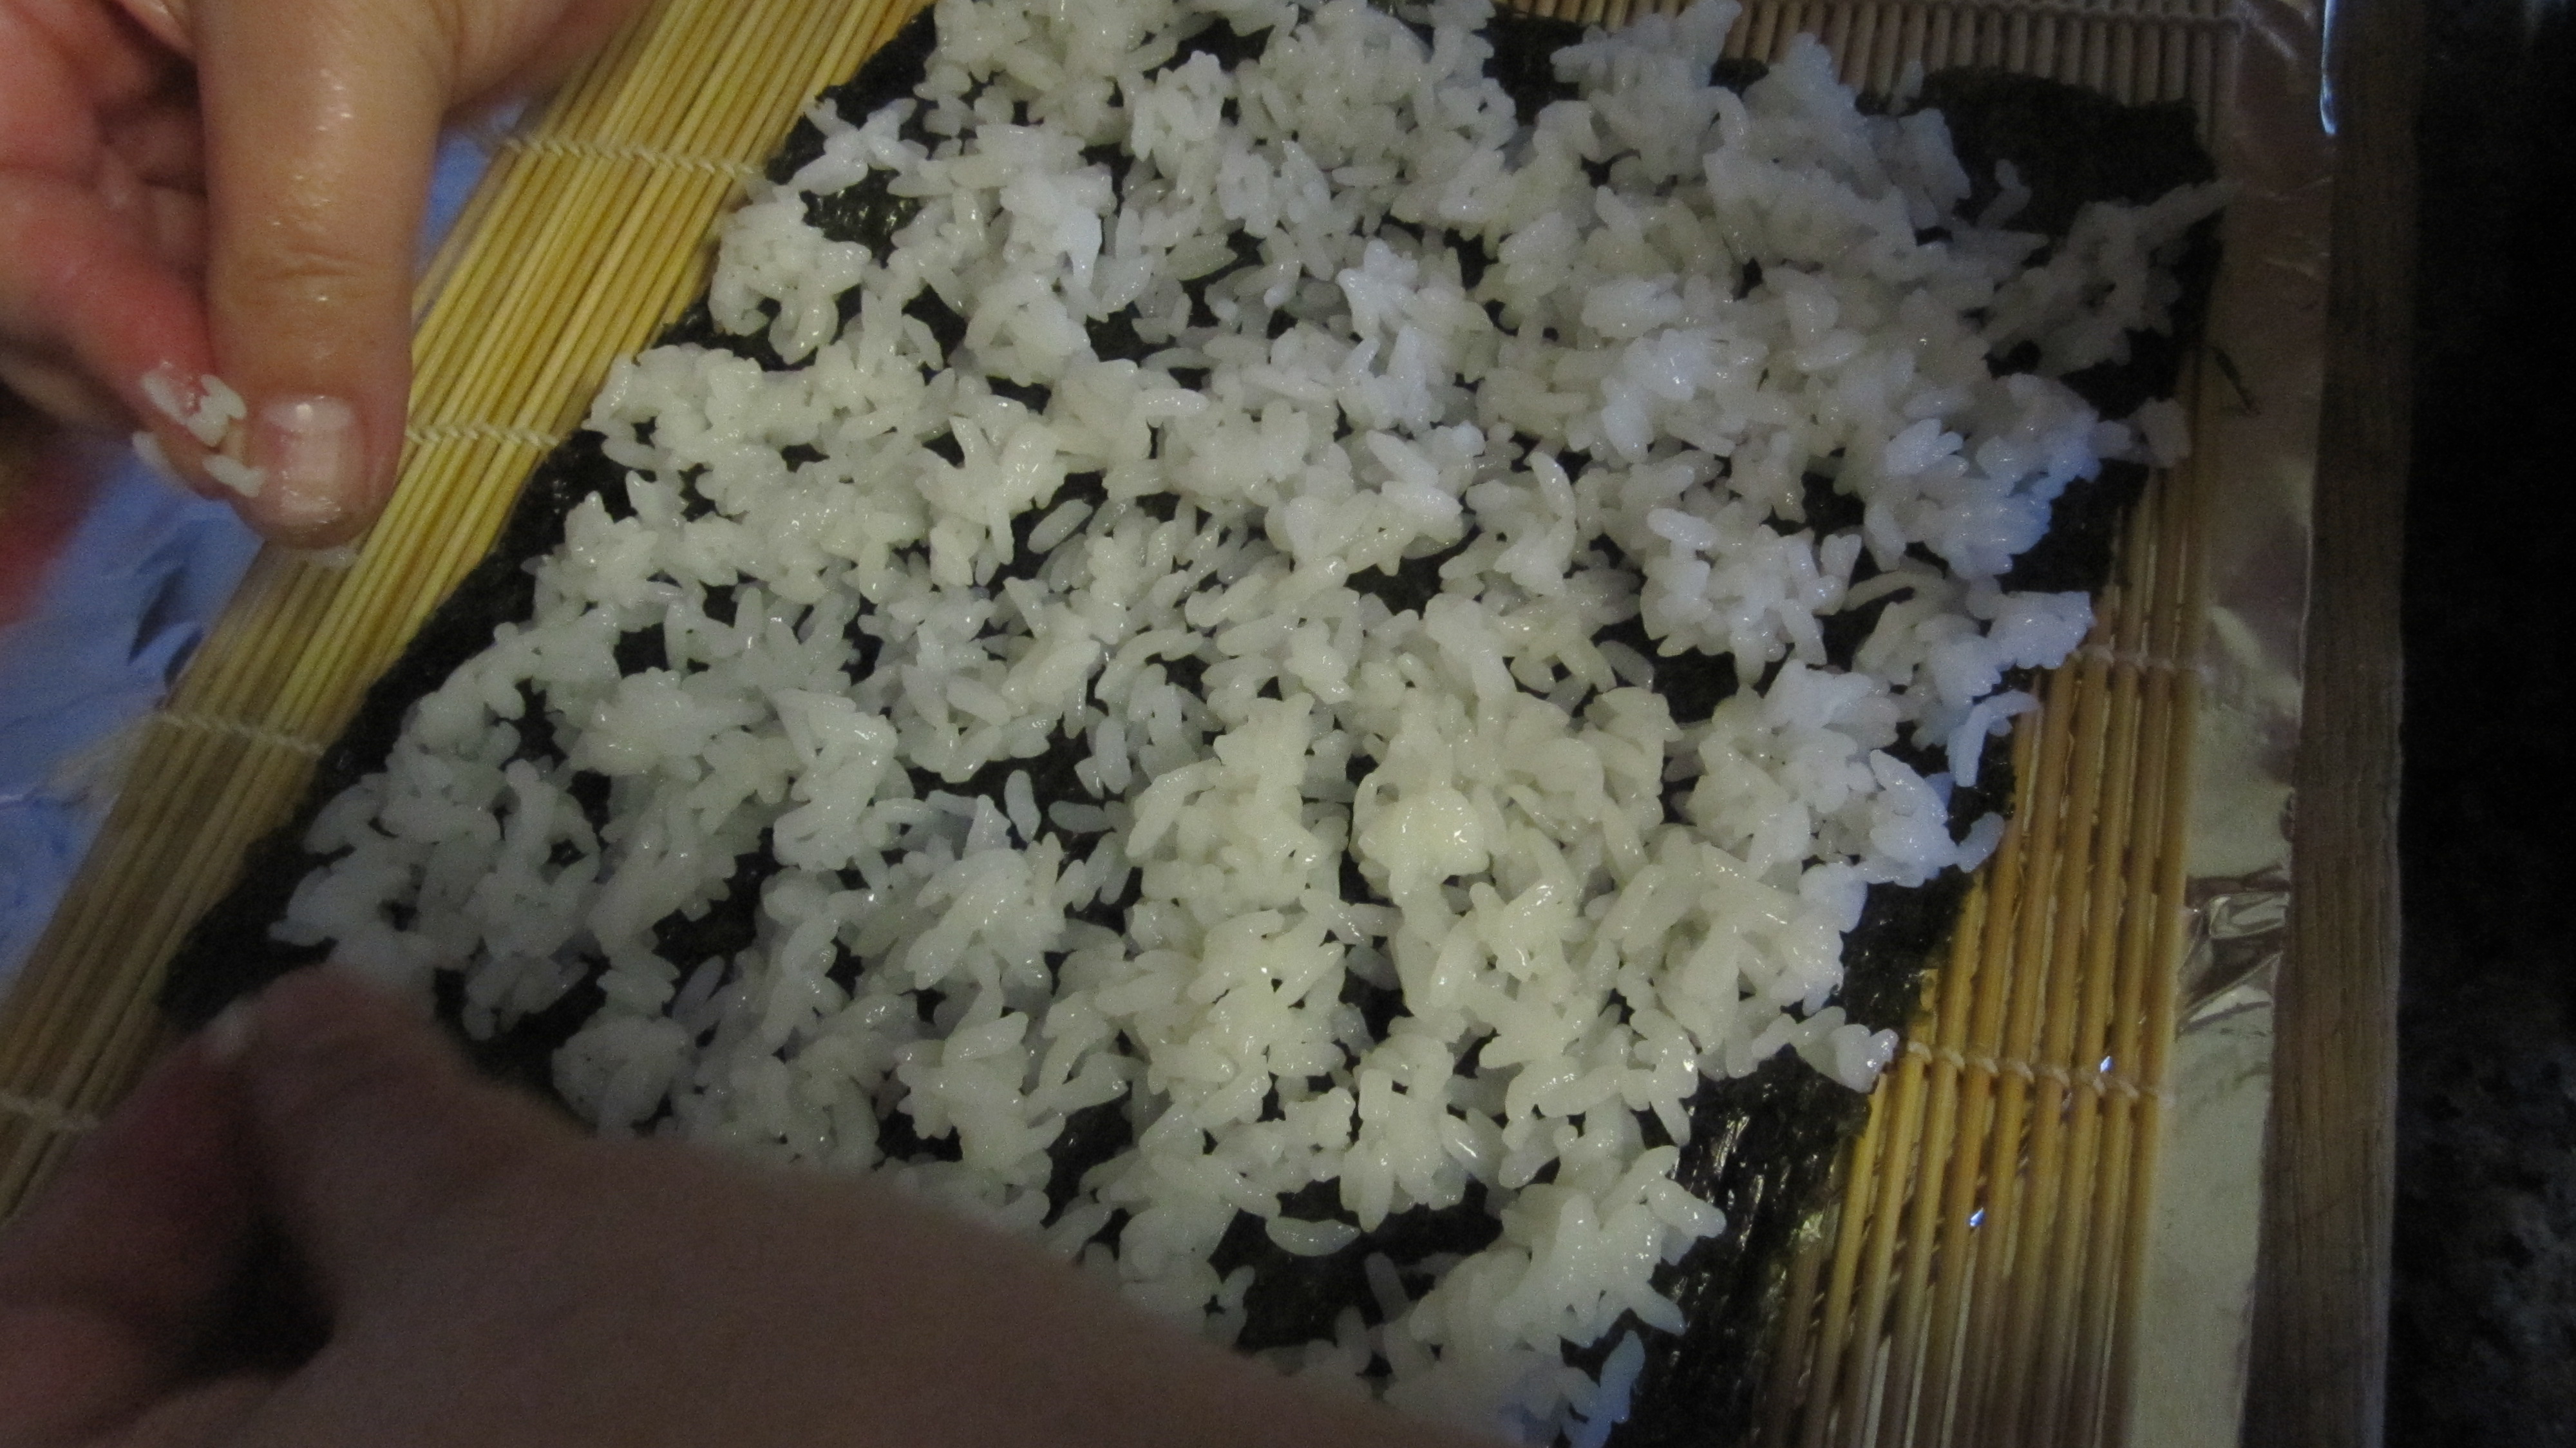
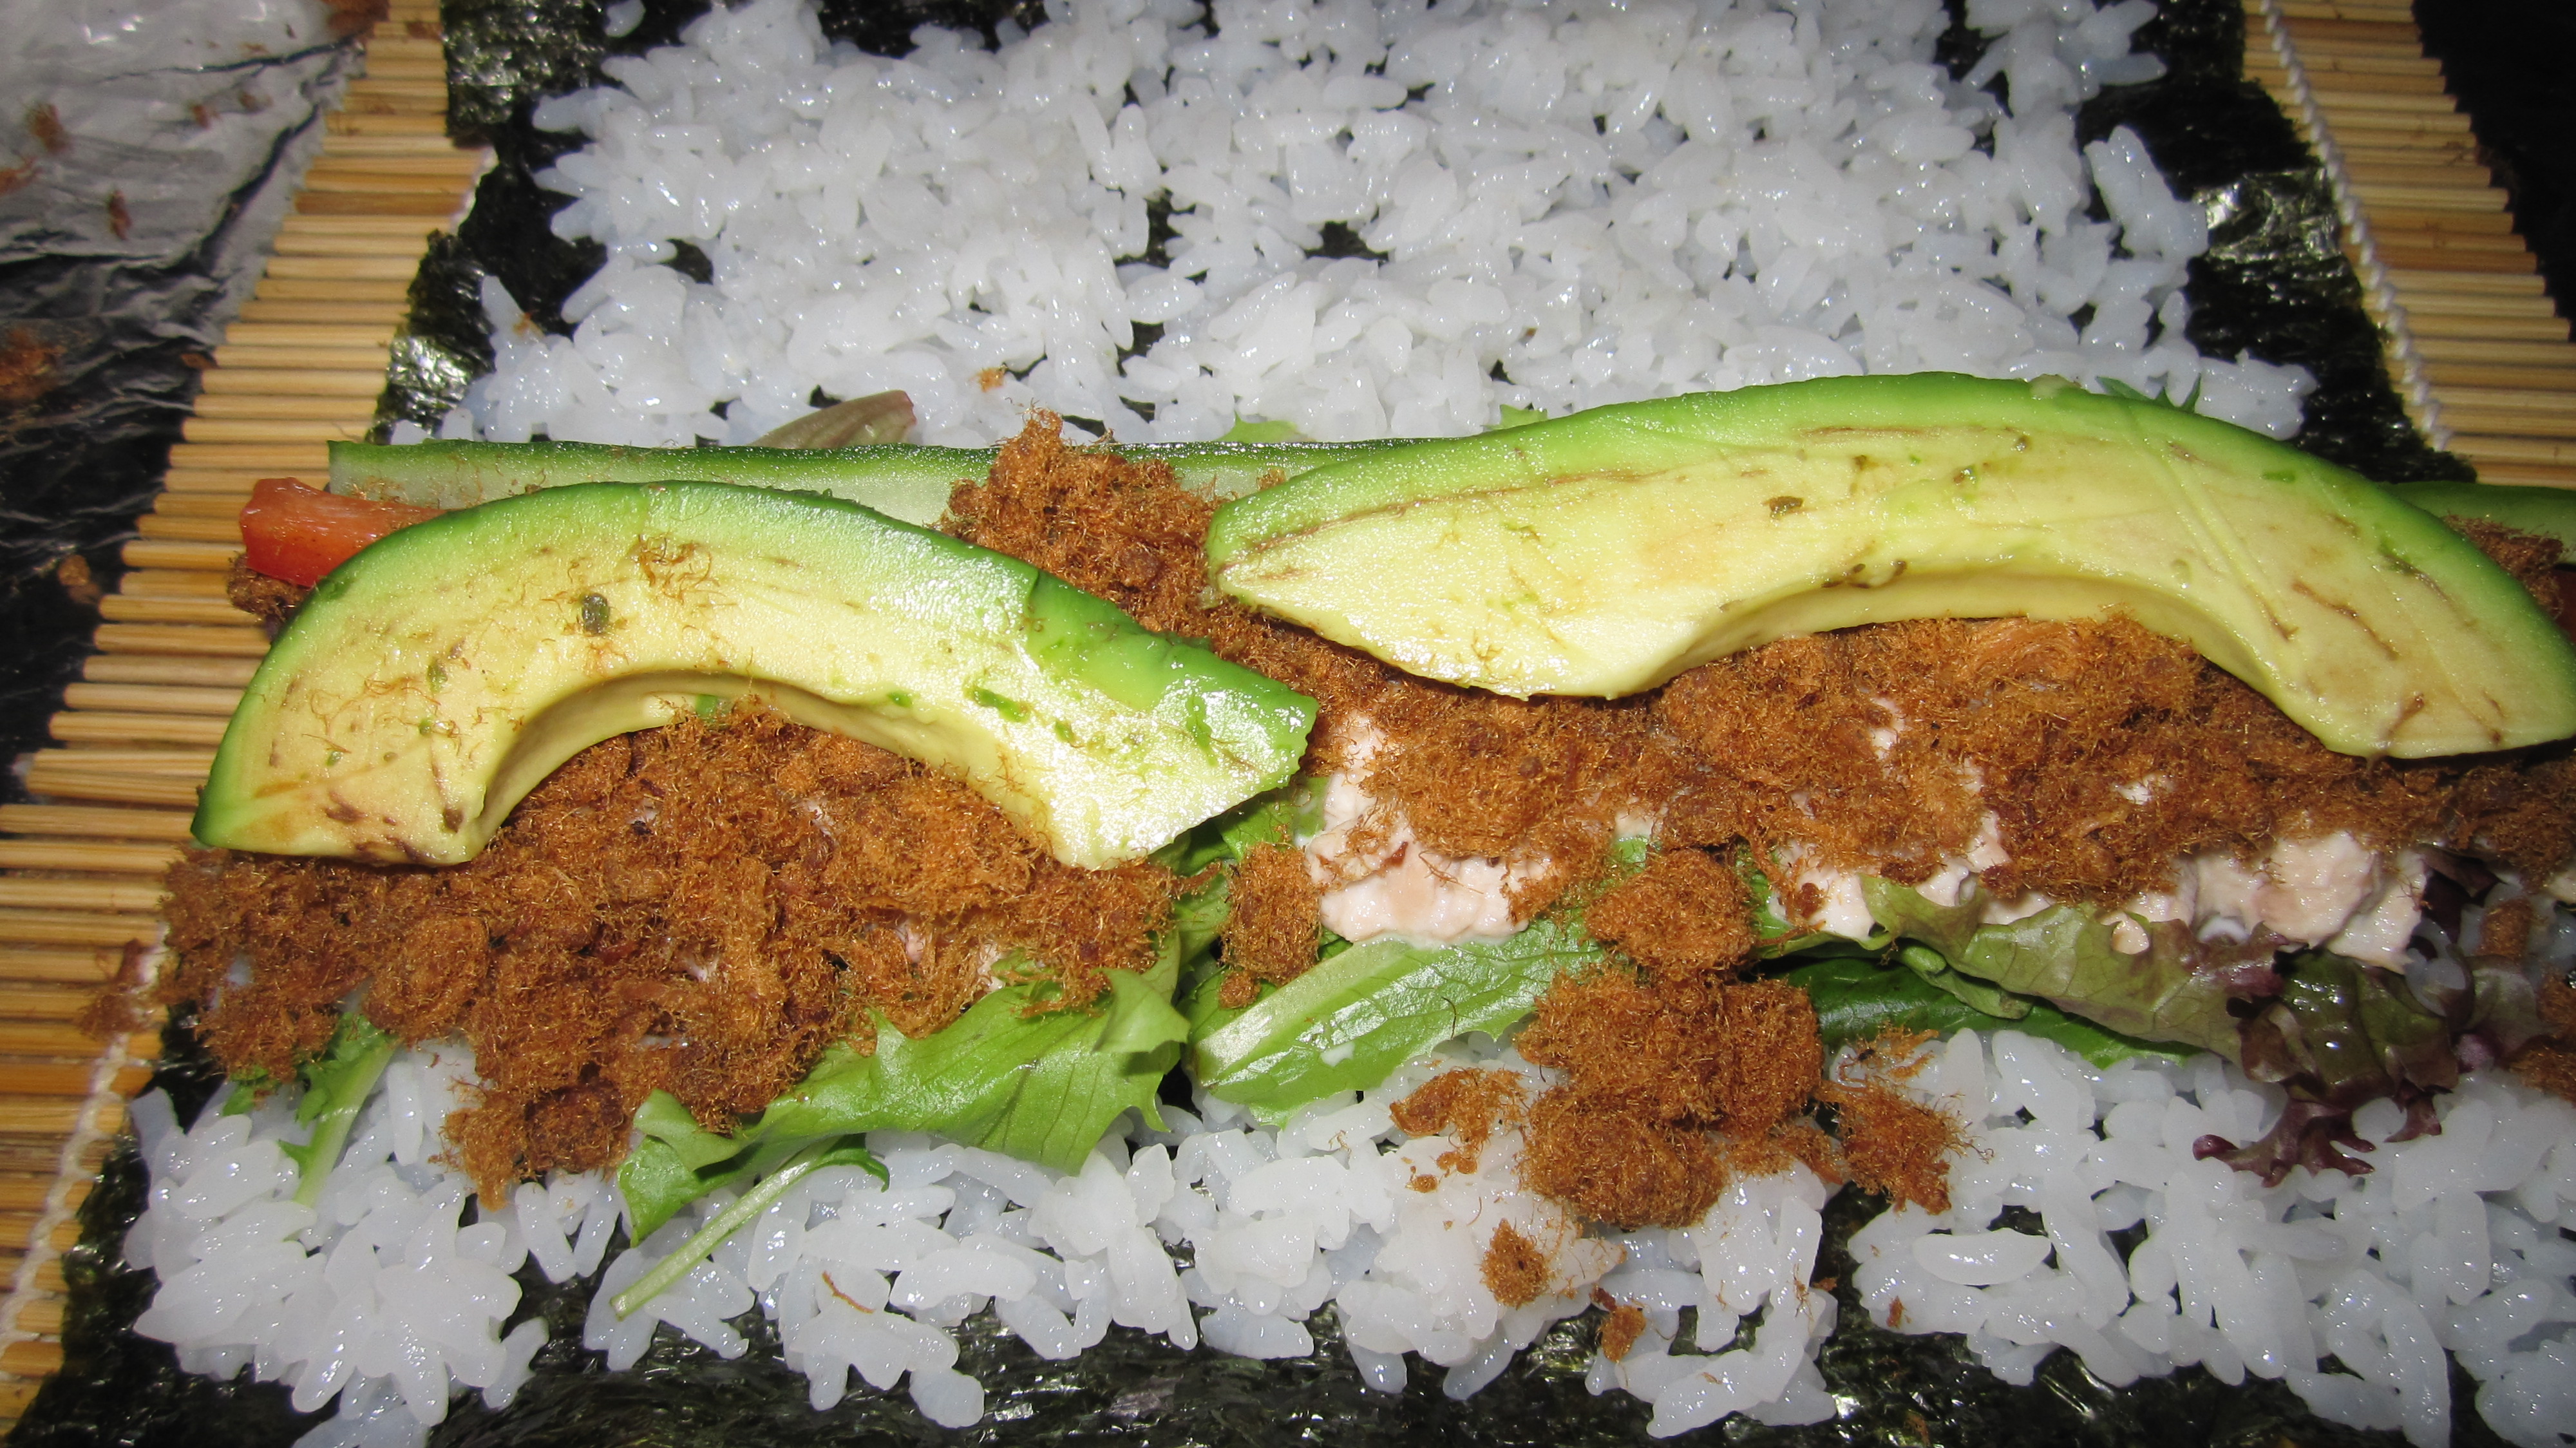
Have a bowl of cold water nearby, and dip your hands into it before you handle the rice–the cold water will keep the rice from sticking to your fingers. Spread a light, even layer of rice all over the sheet. Each sushi roll contains a little less than a bowl of rice. When you place the rice on the sheet of nori, it’s important that you don’t press the rice down–spread it as gently as possible with your fingers. Since you’re going to be pressing the rice when you form the roll, smushing the rice down now will only leave you with gummy, tough rice in your finished product.
 Now you’re ready to layer the filling. The order in which you put everything on actually does matter. Start with a layer of lettuce, then put the tuna and dried pork on top of that. The bell pepper and the avocado top it all off. The key to getting a nice, tight roll is to put the cucumber not on top, but at the back of all the filling. The cucumber acts as the backbone, and gives your fingers an anchor you can use to keep the filling tight when you begin to roll.
To roll, put your middle, ring and pinky finger on the cucumber–remember, that’s your anchor. Pinch the piece of nori to the bamboo roller with your index finger and thumb. Yes, it sounds awkward, but it works! Grip everything tightly, and with one heave, lift the nori, which is supported by the roller, over all of the filling and behind the bar of cucumber, which your other three fingers have been holding in place. Press down onto the rice, forming a seal. (Sorry! Don’t have a picture of this exact maneuver!)
After that, just roll the sushi roll two more times using the bamboo roller, pressing tightly after each turn. (This is exactly why you spread the rice on very gently at the beginning.)
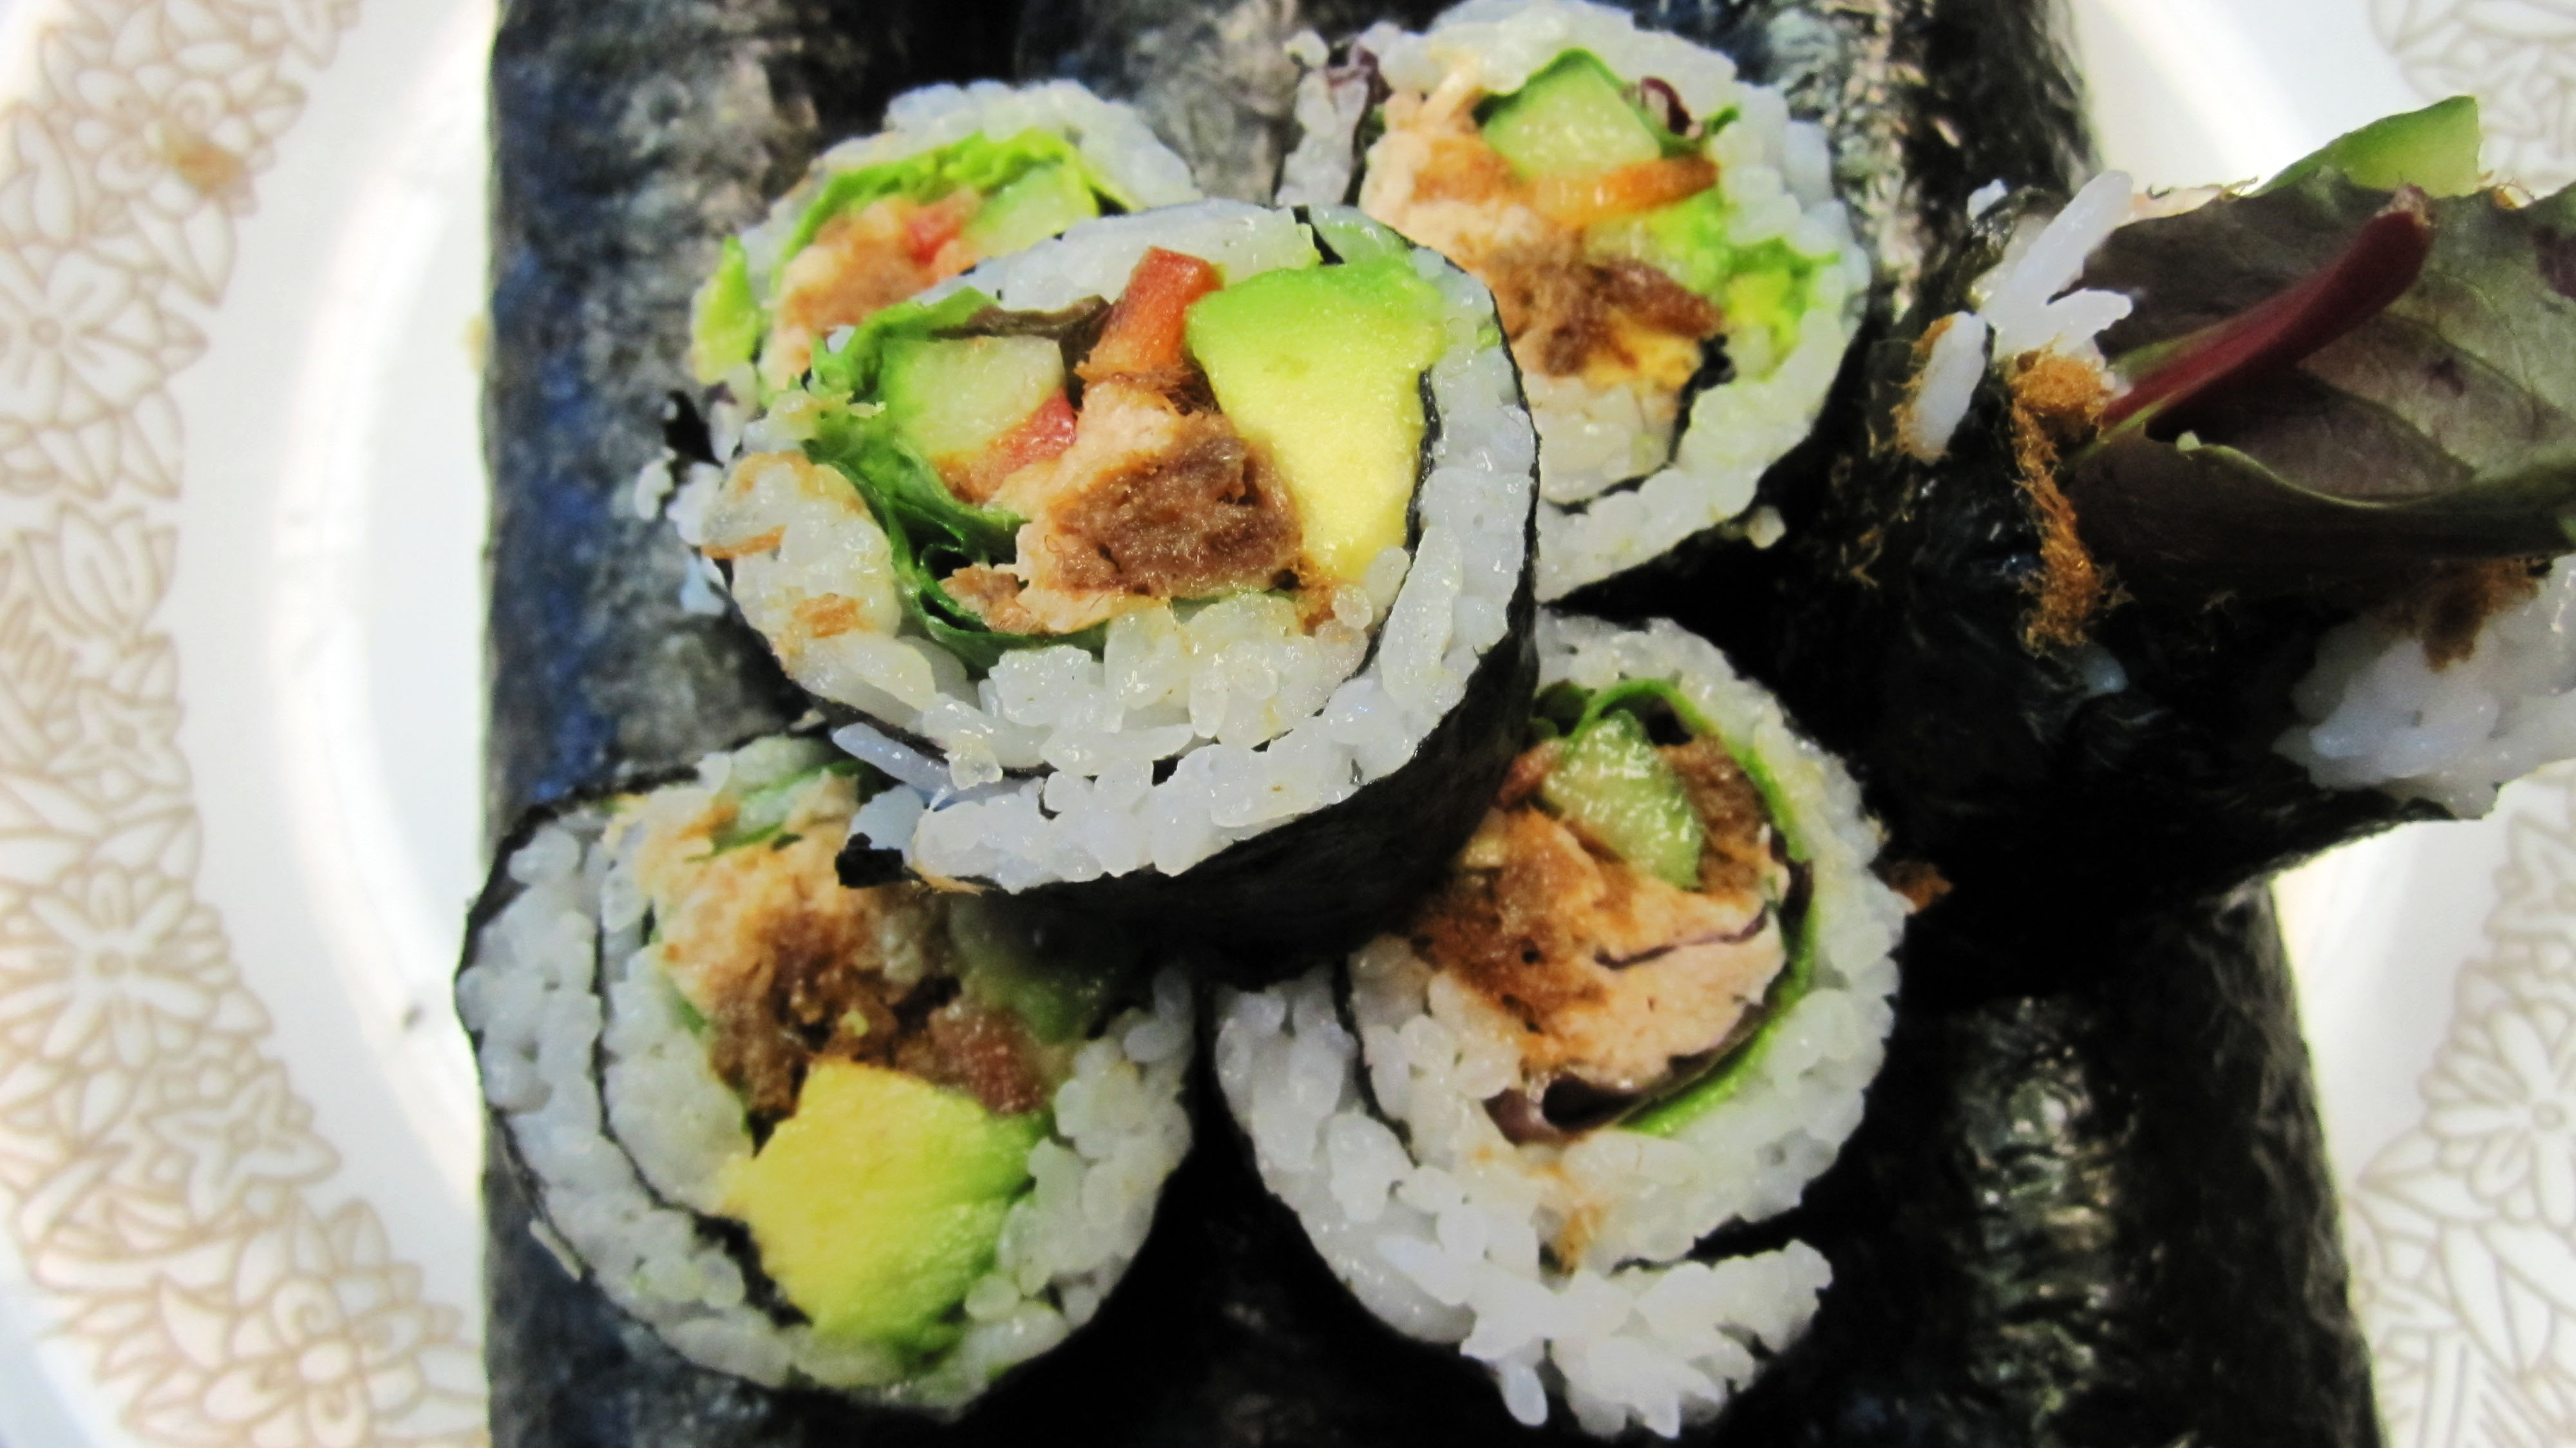
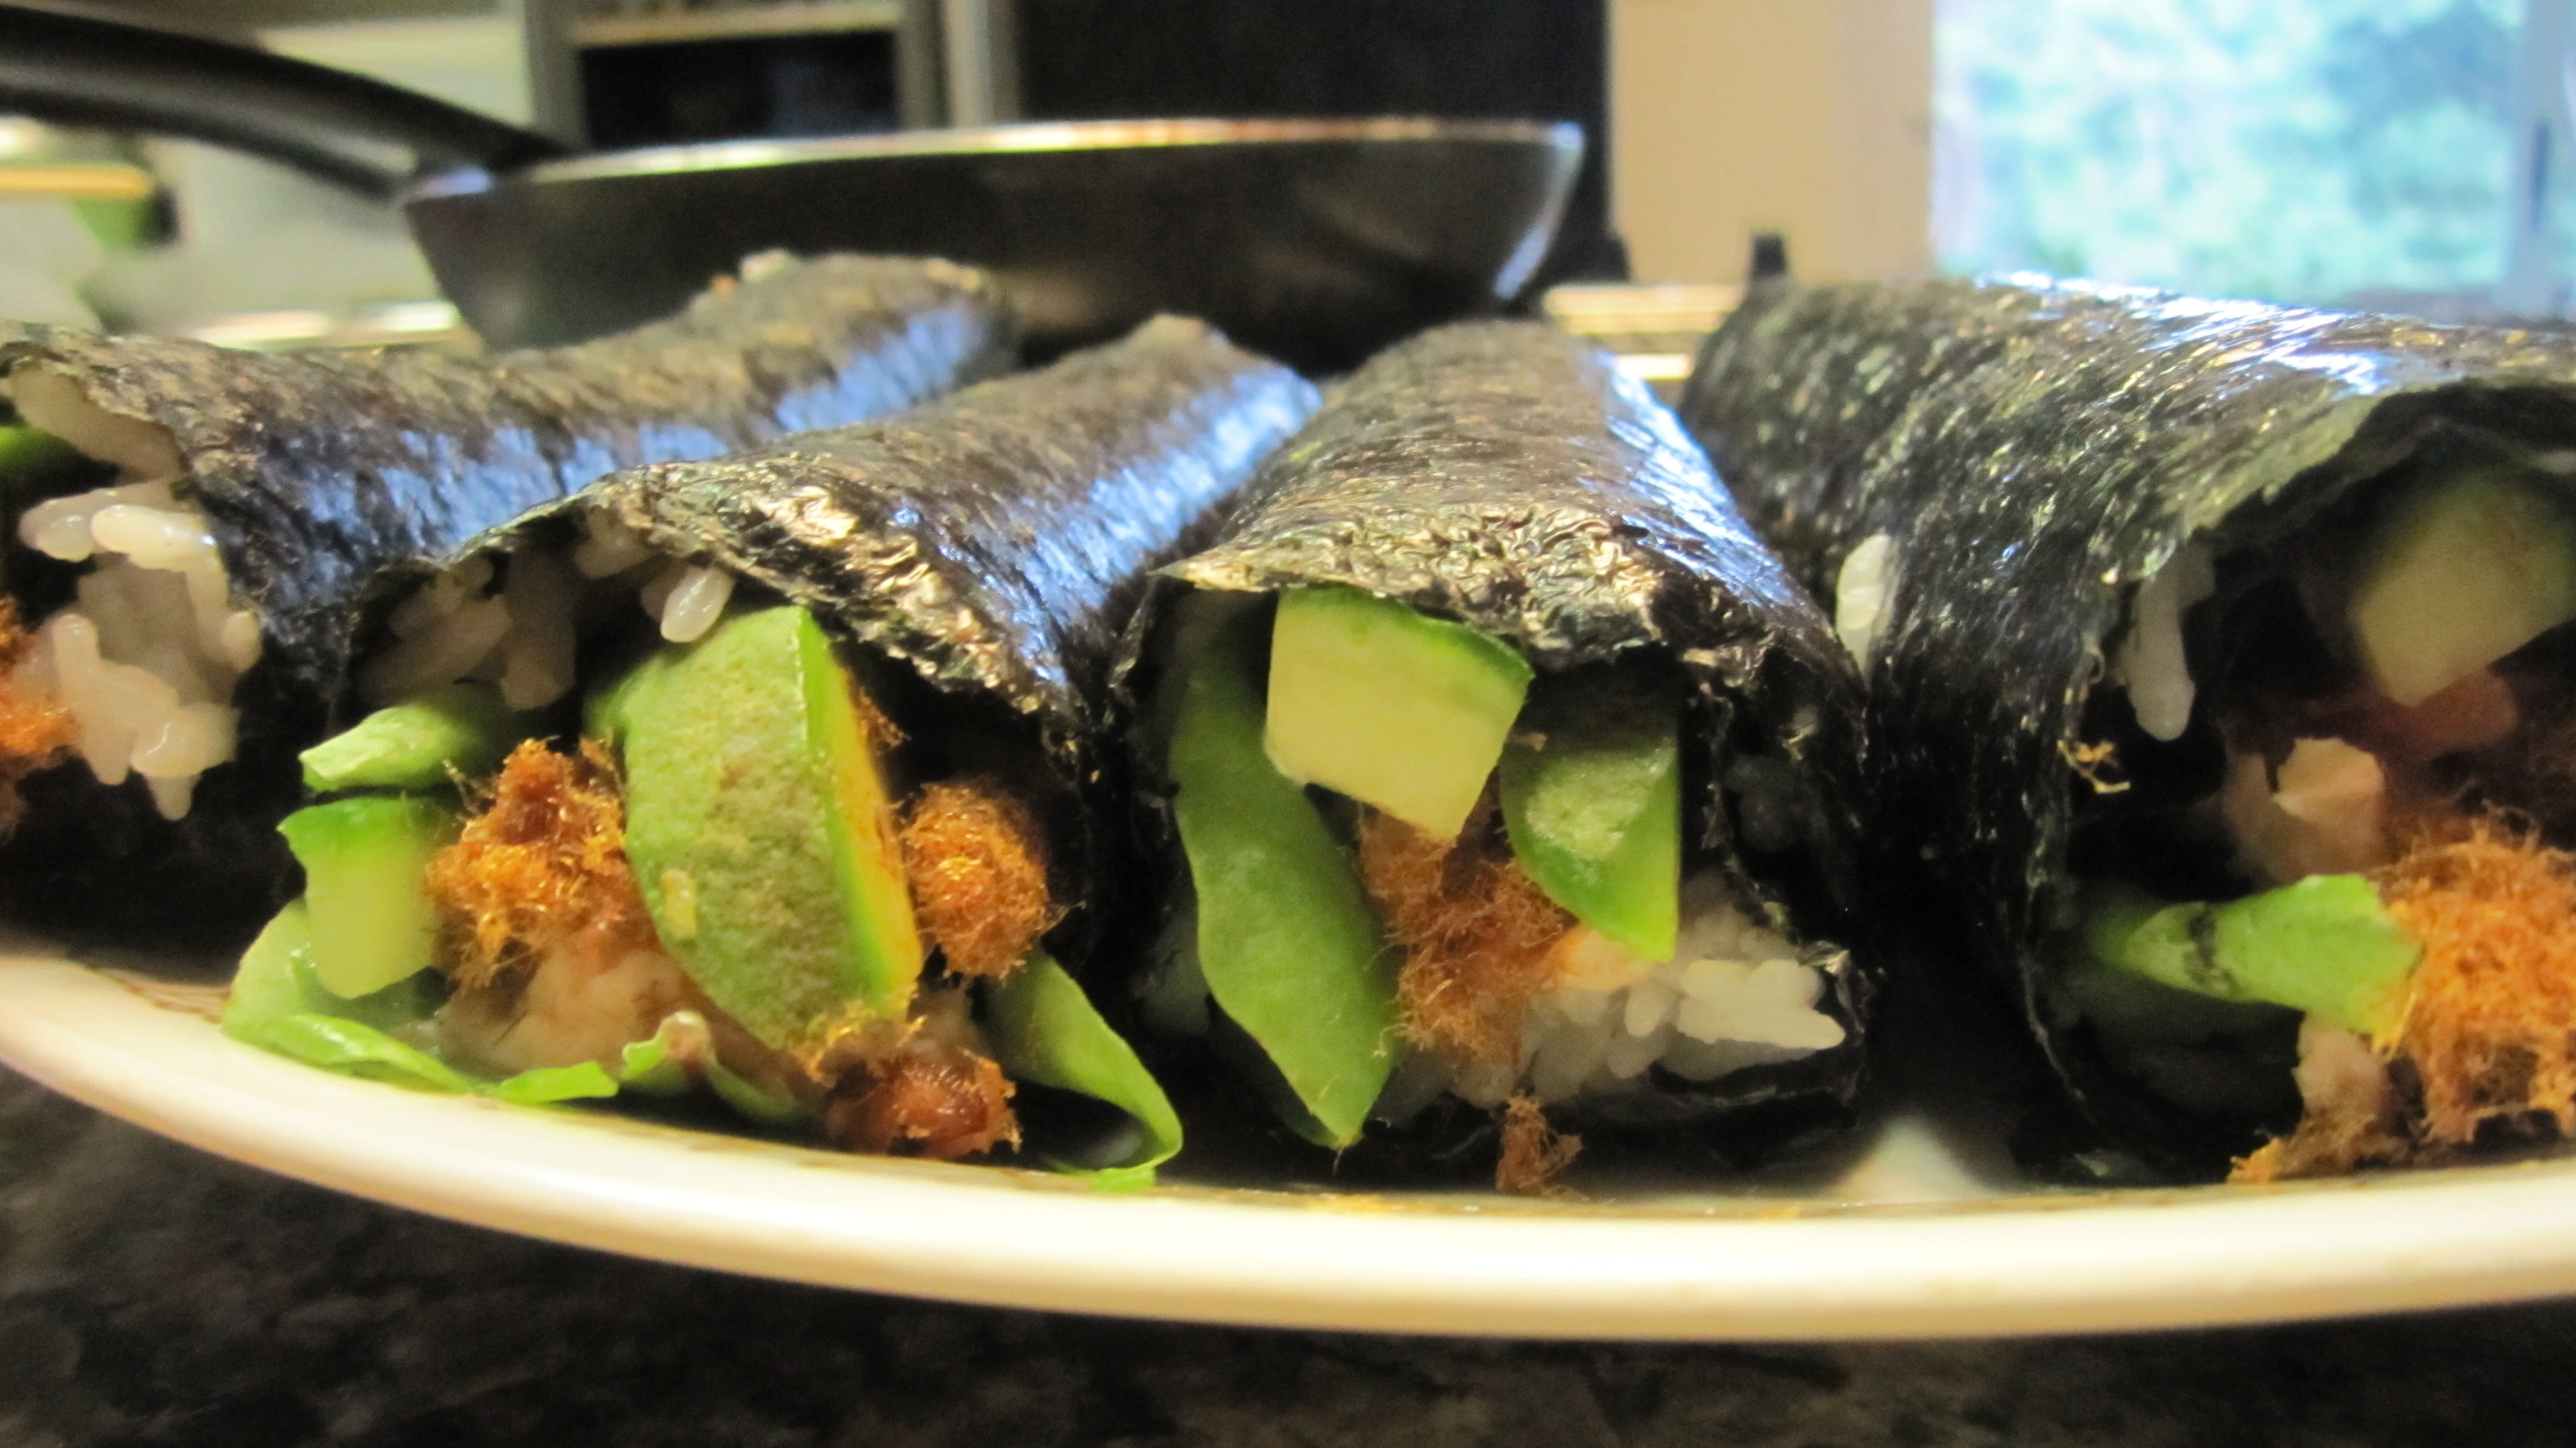
Before you know it, you’ll have a plate of tuna salad sushi! My dad polished off three rolls all by himself. When you slice the sushi, it’s easiest if you have a very sharp knife so you can slice through the nori neatly. We didn’t, so I had to use a little bit of sawing action to make sure I got a clean cut. No matter what your rolls end up looking like, trust me, they’ll be delicious! Enjoy!

:O ~~~~~
Make this with me !!!
It looks like Korean gimbap.
let’s make gimbap! i don’t know what that is!
om nom nom. Is this the delicious sushi she made that you shared at the airport way back when we went to England?
yup it issssss!!!!!!